Crafted and engineered to perform at the highest level of accuracy. An ergonomic lightweight design assists in taking precise and consistent hardness measurements
Units are easy to set up and use, and the lightweight, ergonomic design makes them ideal for taking precise and consistent measurements in the lab or out in the field.
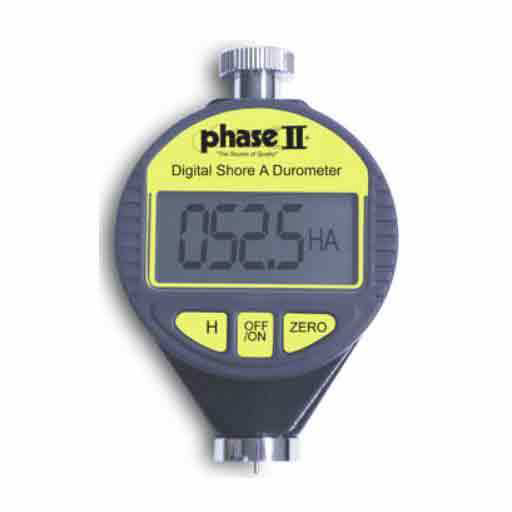
Model PHT-960 (Shore A durometer) is designed to measure the hardness of soft rubber materials such as vulcanized (tire) and natural nitrile, as well as elastomeric (rubber-like) materials such as neoprene, thiokol, polyacrylic esters, and flexible polyacrylic esters. Unit is also designed to measure the hardness of wax, felt, leather, and more.
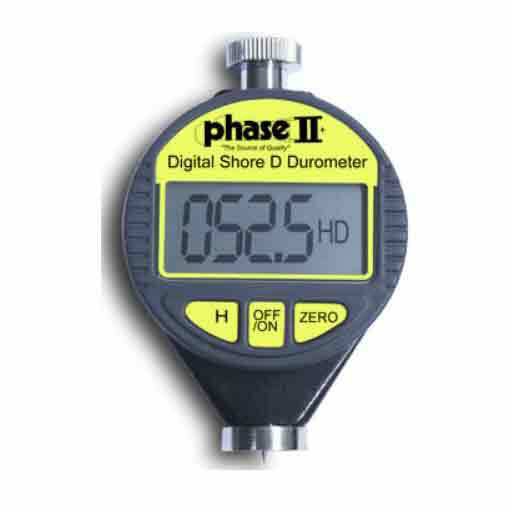
Model PHT-980 (Shore D durometer) is designed to measure the hardness of hard rubber materials such as rigid thermoplastics, plexiglass, thermoploystrene, vinyl, sheet, cellulose acetate, and thermosetting laminates (i.e. – formica). The unit can also be used to measure the hardness of materials that would not normally indent under fingernail pressure, such as a pocket comb or bowling ball.
PHT 960 980 Durometers – Phase II Shore Durometers A & D Revised
Specifications:
- Measuring range: 0-100 HSA/HSD
- Deviation: <1%H
- Resolution: 0.5H
- Digital readout
- Auto Hold feature
- HSA<+/-1 grade
- Uses 1-SR44 Button Cell Battery
- Custom rugged carry case
Features:
• Measuring range: 0‐100HSA (0‐100 HSD)
• Deviation: <1%H
• Resolution: 0 .5H
• Digital read out
• Auto Hold feature
• Accurate and repetitive deviation = 20~90HSA
HSA<+/‐1grade
• Uses 1‐SR44 Button Cell Battery
• Custom carry case
QUICK TIP:
Operation:
- Press the On/Off button to power the unit on.
- The hardness value displayed should read “000” HA(HD). If any other value is displayed, press the Zero button to clear.
- To check accuracy, manually place the indentor of the gauge on a calibration block.
- Slowly press the gage down until the foot of the gage is flat on the surface for 1 second.
- At that time, the reading should be within +/‐ 2Ha points of the actual value.


