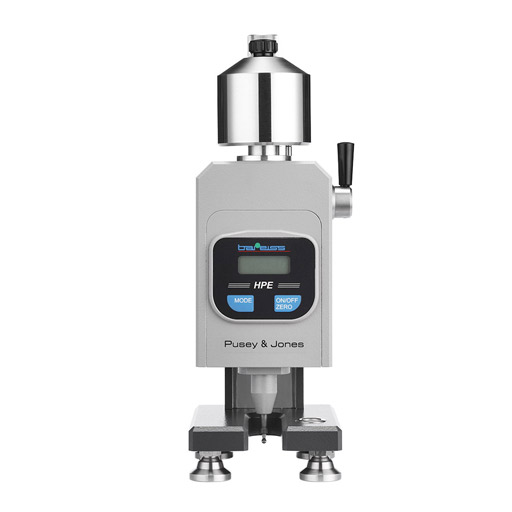
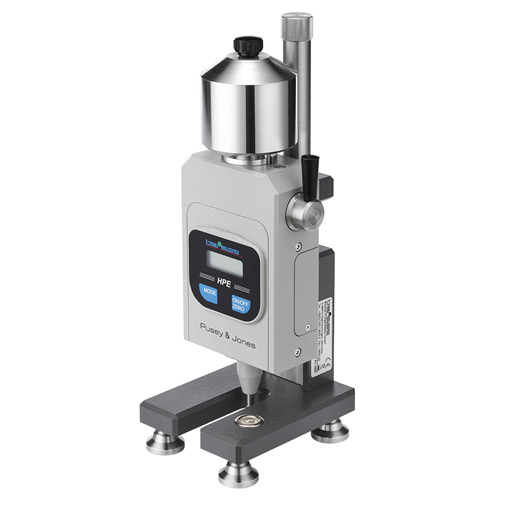
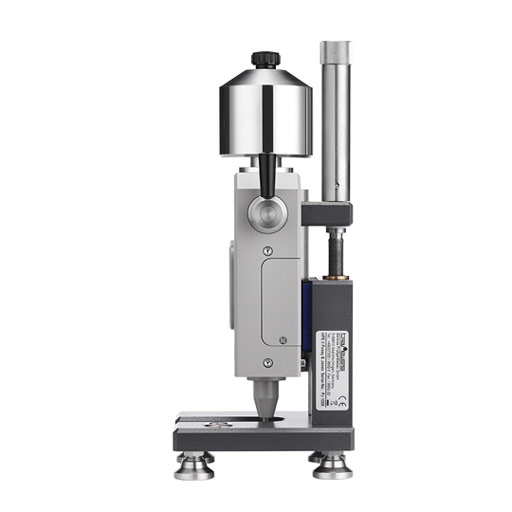
HPE II Pusey & Jones is designed for testing rubber rollers for printing or other rubber-like materials
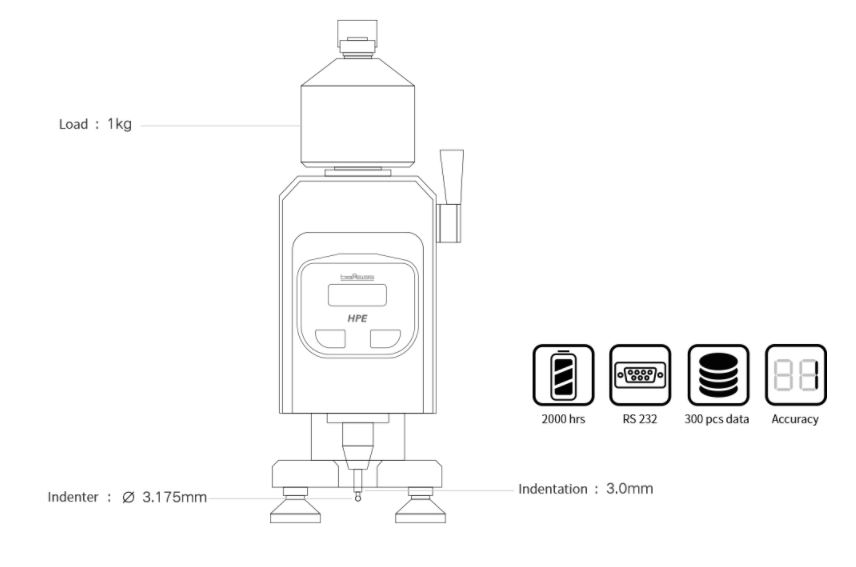
The HPE II Pusey & Jones digital hardness tester, paper drum tester and rubber roller hardness tester is the go-to solution for the paper and rubber industries. It’s unparalleled testing ability enables the measurement of hardness for curved shaped and cylindrical specimens, making it a preferred choice among rubber and paper industry professionals. With the integrated test stand and adjustable base, the HPE II provides accurate and precise measurements of hardness. Additionally, its remarkable memory can store up to 300 measurements, ensuring seamless tracking and analysis of testing data. Trust it for xceptional performance and reliable results on rubber & elastomer materials, in any industry.
This has the advantage so the display of the dial gauge can be set to zero by pressing a button as soon as the indenter with the measuring rod is raised by lowering the measuring device body by approx. 3 mm.
With a vertical spindle integrated on the back of the device, the dial gauge can be sensitively moved up and down. By lowering the lateral load lever, the prescribed total force of 9.8 N is applied. After 60 seconds of test time, the measurement result is read.
Standards: ISO 7267-3 / ASTM D 531
Features and Benefits:
1) Internal memory records up to 300 measured values and an RS-232.
2) Easily test the hardness of circular or curved materials with ease, thanks to its versatile design.
3) Flexibility and precision guarantees consistent and accurate results.
4) Strategically placed weight provides for more reliable and consistent measurements.
Operating Procedure:
1) Ensure that the loading lever is pointing upwards, and the indenter is hanging freely for accurate testing.
2) When testing drums and rollers, place the device on the specimen and ensure the bubble level is precisely centered.
3) Activate the device with a simple press of the ON/OFF ZERO key.
4) To lower the testing device onto the specimen, rotate the set screw to the user’s right position until the display reads “300”.
5) A signal will indicate when the measurement begins, and the loading lever should be rotated until it stops. The display will then show the remaining time in 10-second increments.
6) Once the measuring time has elapsed, a sound signal will indicate that the measurement is complete, and the value will be displayed.
7) To finish, rotate the loading lever to the top position until it stops, then lift the device from the specimen by rotating the screw to the user’s left position until the display reads “0M”.
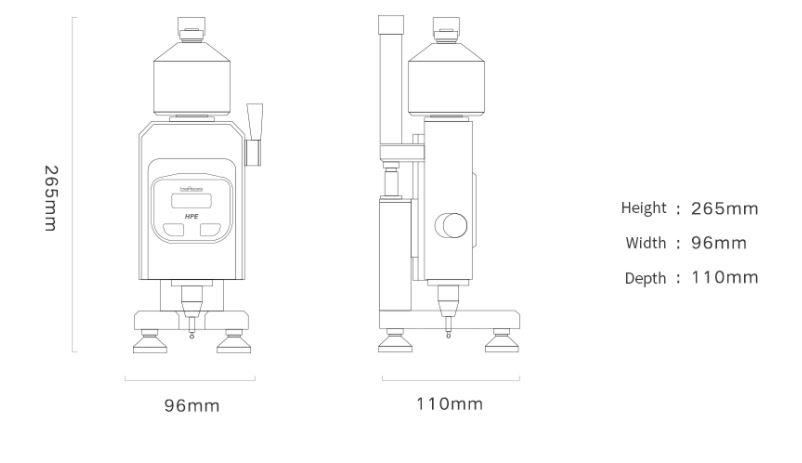
Size and Weight
Testing rubber rollers for printing requires a precise and specialized instrument
| Power Supply | lithium-battery 3.6 v, size ½ aa |
| Battery duration | approx. 2000 hours |
| IP code | IP 30 |
| Resolution | 1 Pusey & Jones |
| Measuring ranges | Pusey & Jones |
| Display range | Pusey & Jones: 0 – 300 |
| Data output | rs 232 – 9600 baud, 1 start bit, 8 data bits, 1 stop bit |
| Memory | 300 measurements |
| Dimensions | HPE II Pusey & Jones: 250 x 90 x 130 mm product case: 240 x 210 x 55 mm |
| Weight | HPE II Pusey & Jones: 3.30 kg product case: 0.50 kg |


