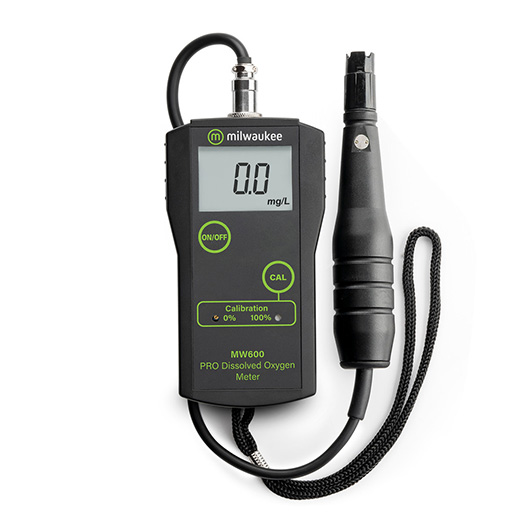
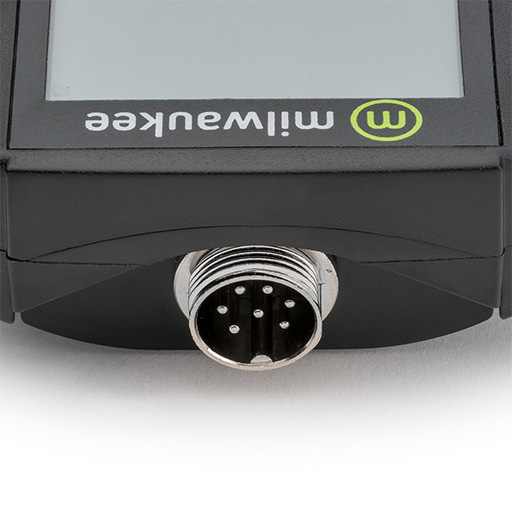
The Dissolved Oxygen Meter Milwaukee MW600 is one of Milwaukee’s most popular meters with its reliable and fast operation as well as its accuracy.
GreaT for field biologists and educators, fish farmers and koi pond owners
The Milwaukee PRO DO Meter is preferred by people looking for lab level accuracy without the cost.
DESIGN FEATURES
- Fast, easy-to-read results with large digital LCD readout
- Repeatable, accuracy to ±1.5% FS
- Lightweight and portable
- Simple 2 point open air calibration (see video below)
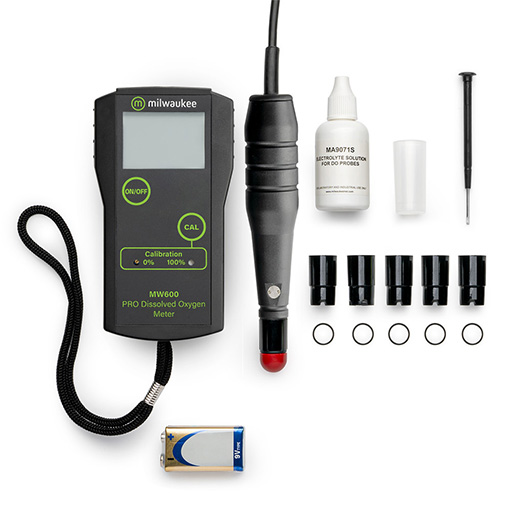
- Uses MA840 reinforced polarographic probe with an oxygen-permeable polytetrafluroethylene (PTFE) membrane sensor
- 5 o-rings, membranes and one protective cap included
- 10 feet probe cable for extra flexibility when testing
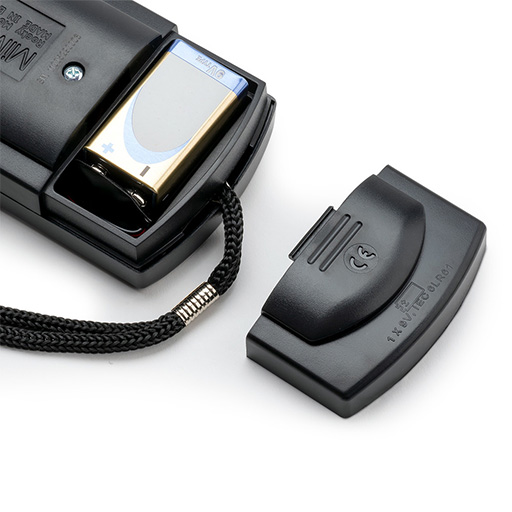
- 70 hours of battery life with continuous use (battery included) with low battery warning
Dissolved Oxygen Meter Milwaukee MW600 Specifications
- O2 Range: 0.0 to 19.9 mg/L
- O2 resolution: 0.1 mg/L
- O2 Accuracy: ±1.5% Full Scale
- Calibration: Manual on 2 points (zero and slope)
- Temperature Compensation: Automatic, from 0 to 30°C
- Probe: MA840 refillable polargraphic probe included
- Probe Length: MA840 has a 10′ cable
- Membranes: 5 included
- Environment: 0 to 50°C / 32 to 122°F; max RH 95%
- Battery Type: 1 x 9V alkaline (included)
- Battery Life: Approx. 70 hours of continuous use
- Dimensions: 5.7 x 3.1 x 1.6 inches
- Weight: 7.5 ounces with battery
CARE AND USE
“OPEN AIR” CALIBRATION PROCEDURE
1. Remove the membrane
Take the membrane off the end of the probe and dry the diode off.
2. Zero out the display
Connect the probe to the base unit and turn the unit on. Your display should read 0.0. If it does not, go to the position “0” screw on the front of the unit with the screw driver provided and through the access hole make the unit display read 0.0.
3. Fill the membrane
Go to the membrane and put the “O” ring inside the membrane on the shoulder at the base of the threads. Fill the membrane to just short of the “O” ring with MA9071 electrolyte solution. Be sure that there are no bubbles inside the membrane. (Air bubbles are the main cause of calibration failure)
4. Attach the membrane
Screw the membrane on to the probe.
5. Let stablize
Turn the meter on and hang the probe off the end of a table pointing down and let the unit display stabilize (this may take 5 to 15 minutes)
6. Adjust
Push down and hold the “Cal” button on the front face of the meter and with the screwdriver go to the front Cal position “100%” and make the display read 100.
You are now calibrated.
EXTRA TIPS
Watch for the membrane having wrinkles or stretch marks. If you see wrinkles, replace with a new membrane.
Always use fresh electrolyte solution (MA9071).


